.jpg)
Capture Your Big Day with a Creative and Fun Documentary Wedding Video by White Dress Films
If you want a fun and creative wedding video that captures all the real moments and emotions, look n...

Learn what happens during 35 mm film development, from chemical processing to drying and storage. This guide explains the basic process, processing options, turnaround times, and simple tips to help photographers protect their film and preserve their images.
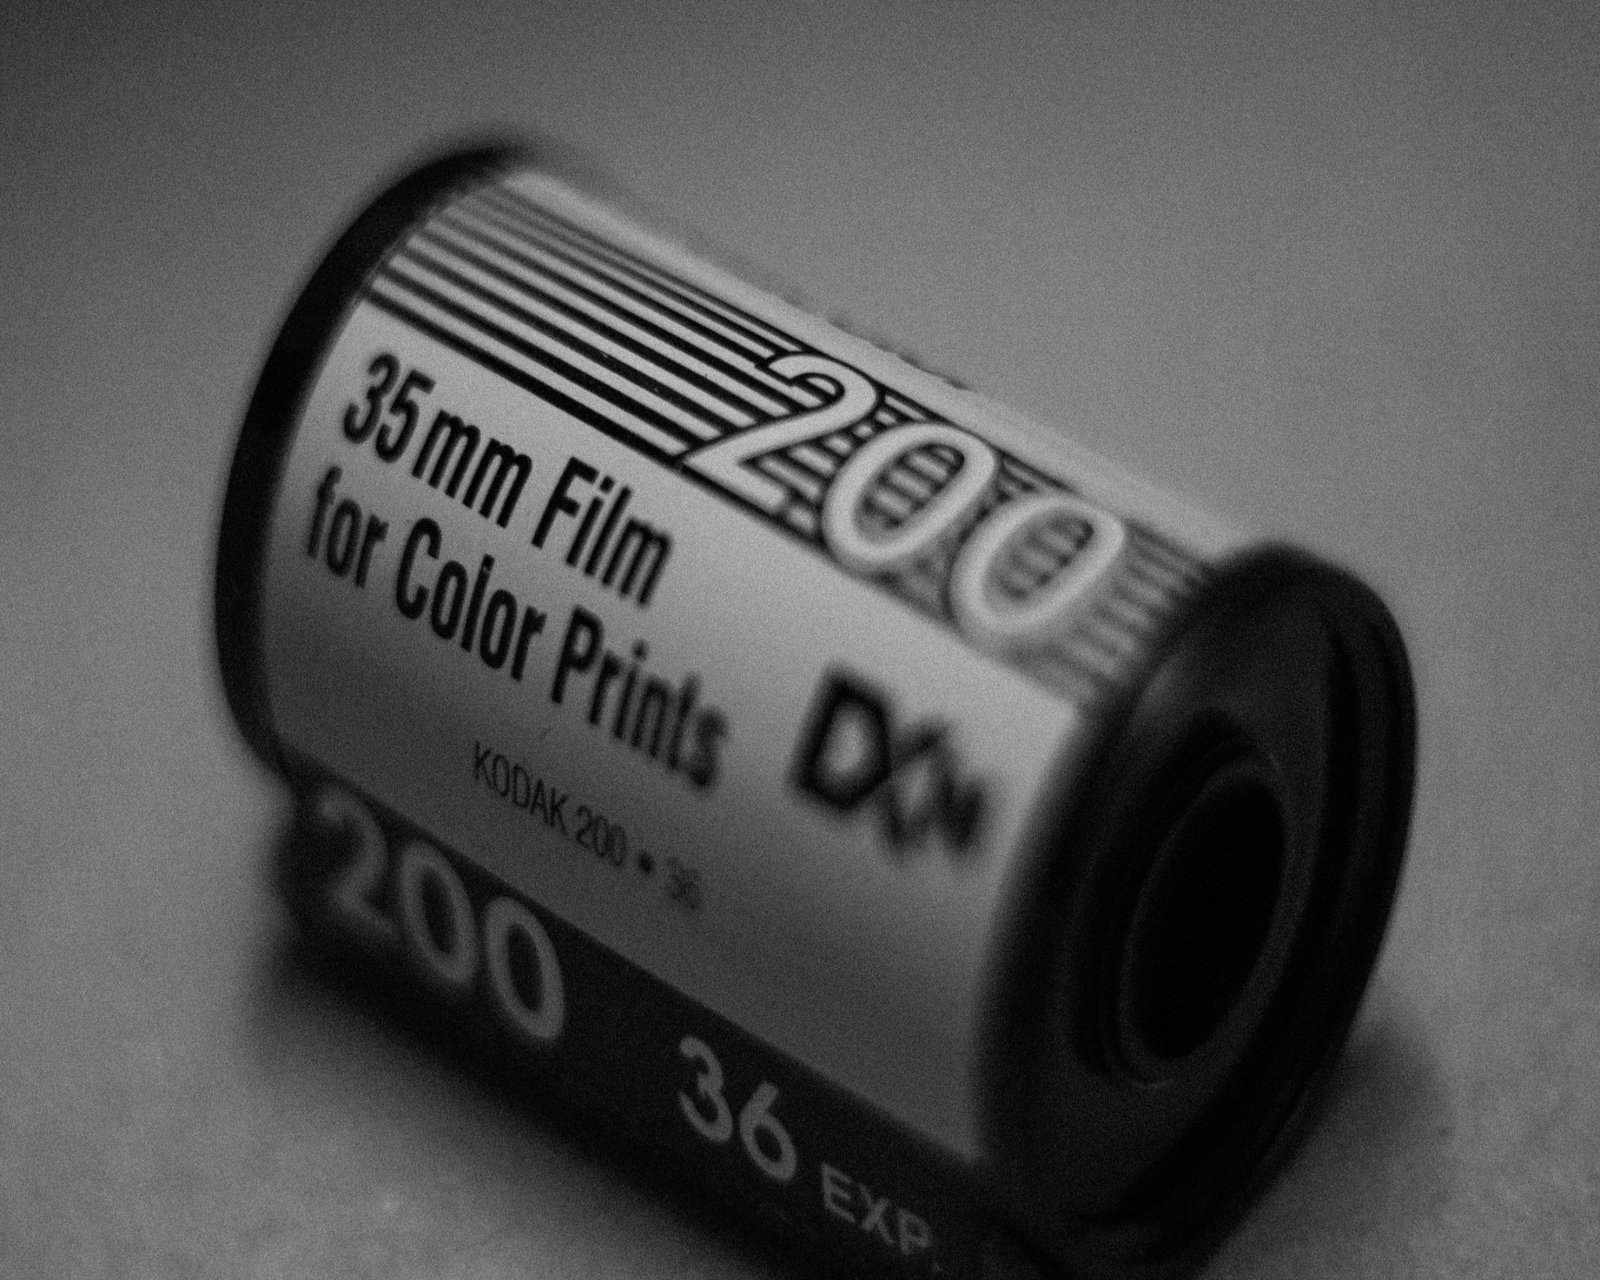
Shooting a 35mm camera is a different ball game altogether compared to when one shoots using a digital camera. You will not be able to view your images immediately as the film needs to be processed first for you to view your pictures. This explains why processing is an integral part of the whole process.
Knowing what comes after completing a roll is beneficial to either a beginner or an experienced photographer.
35 mm Film Development is the chemical process that makes exposed film into negatives for viewing, scanning, or printing purposes.
Once film is exposed, it consists of images that have not yet been made visible. It needs to be developed using certain procedures. During development, the chemicals react with the exposed areas of the film and create the photographic image.
The procedure varies according to the type of film that is used. There are distinct procedures for processing color negative film, black and white film, and slide film.
There are many key processes involved in the procedure. Each of these processes requires precise timing, temperature, and chemicals.
The exposed roll is first prepared for processing. It is important to handle the film carefully because scratches, dust, fingerprints, and light exposure can affect the final negatives.
The film is placed through the appropriate chemical process for its film type. The chemicals develop the exposed image and help make it permanent.
For instance, a lot of color negative films are processed using C-41 technology while black and white films have different processing technologies.
After development, the film needs to be properly washed. This helps remove unwanted chemical residue from the film.
The film that has been developed is dried prior to being cut. Drying helps to avoid the risk of dust and physical damage to the negatives.
After drying, the film can then be sliced into pieces and inserted into protective sleeves. Proper storage of negatives ensures their protection for future scanning or printing purposes.
The film consists of an actual picture that means that errors while developing can result in irreversible damage to the negatives.
Improper temperature regulation, wrong chemicals usage, contamination, or mishandling may cause:
Careful processing helps preserve the information captured on the film.
Developing is only the first stage. Once the negatives have been processed, there are several ways to work with the images.
Film scanning converts the images on the negatives into digital files. These files can be stored, edited, shared, or printed.
Traditional or digital printing can turn a negative into a physical photograph. Print size and quality depend on the negative and the printing method used.
It is also advisable to retain the negatives after the scanning process. This will act as a backup, which can be used later for scanning purposes.
Photography hobbyists like some individuals who develop their own films at home. This may be a good means of learning about the whole photography process.
But it needs appropriate apparatus and chemicals, besides temperature control and a hygienic working environment. It takes time to master the whole process consistently.
Alternatively, there is a professional photo laboratory that processes films for individuals without exposing them to the chemicals.
Processing time varies depending on the film type, lab, selected services, and current workload. If you also request scanning or printing, the total turnaround time may be longer.
It is useful to check the expected turnaround before sending or dropping off your film.
Good results start before the film reaches the lab. A few simple habits can help protect your photographs.
No. The correct process depends on the type of film. Color negative, black and white, and slide films use different processing methods.
Yes. Processed negatives can be scanned to create digital image files. Scanning quality can vary depending on the scanner and settings used.
Yes. Negatives are the original physical record of the photographs. Keeping them protected gives you the option to rescan or print them later.
Sometimes. The condition and age of the film can affect the results. Older film may show changes in color, contrast, or exposure, but processing can still reveal images in some cases.
35mm film development is an important step between taking a photograph and seeing the final image. Understanding the process helps photographers take better care of their exposed film and make informed choices about developing, scanning, and printing.
For anyone working with film, the negatives are worth protecting. They contain the original photographs and can continue to be scanned or printed long after the roll has been processed.
You must be logged in to post a comment.
Explore our curated selection of various articles in this category
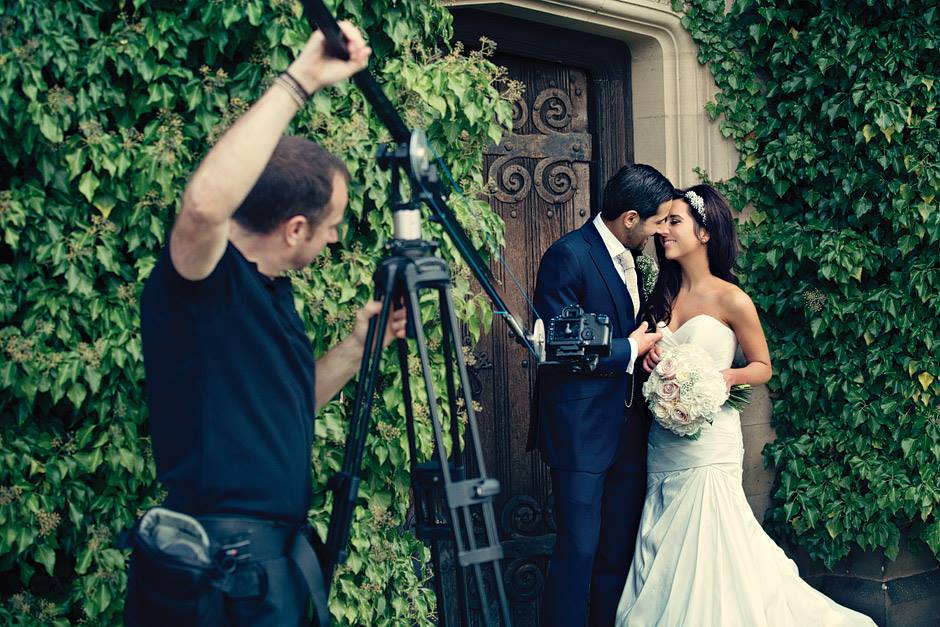
If you want a fun and creative wedding video that captures all the real moments and emotions, look n...
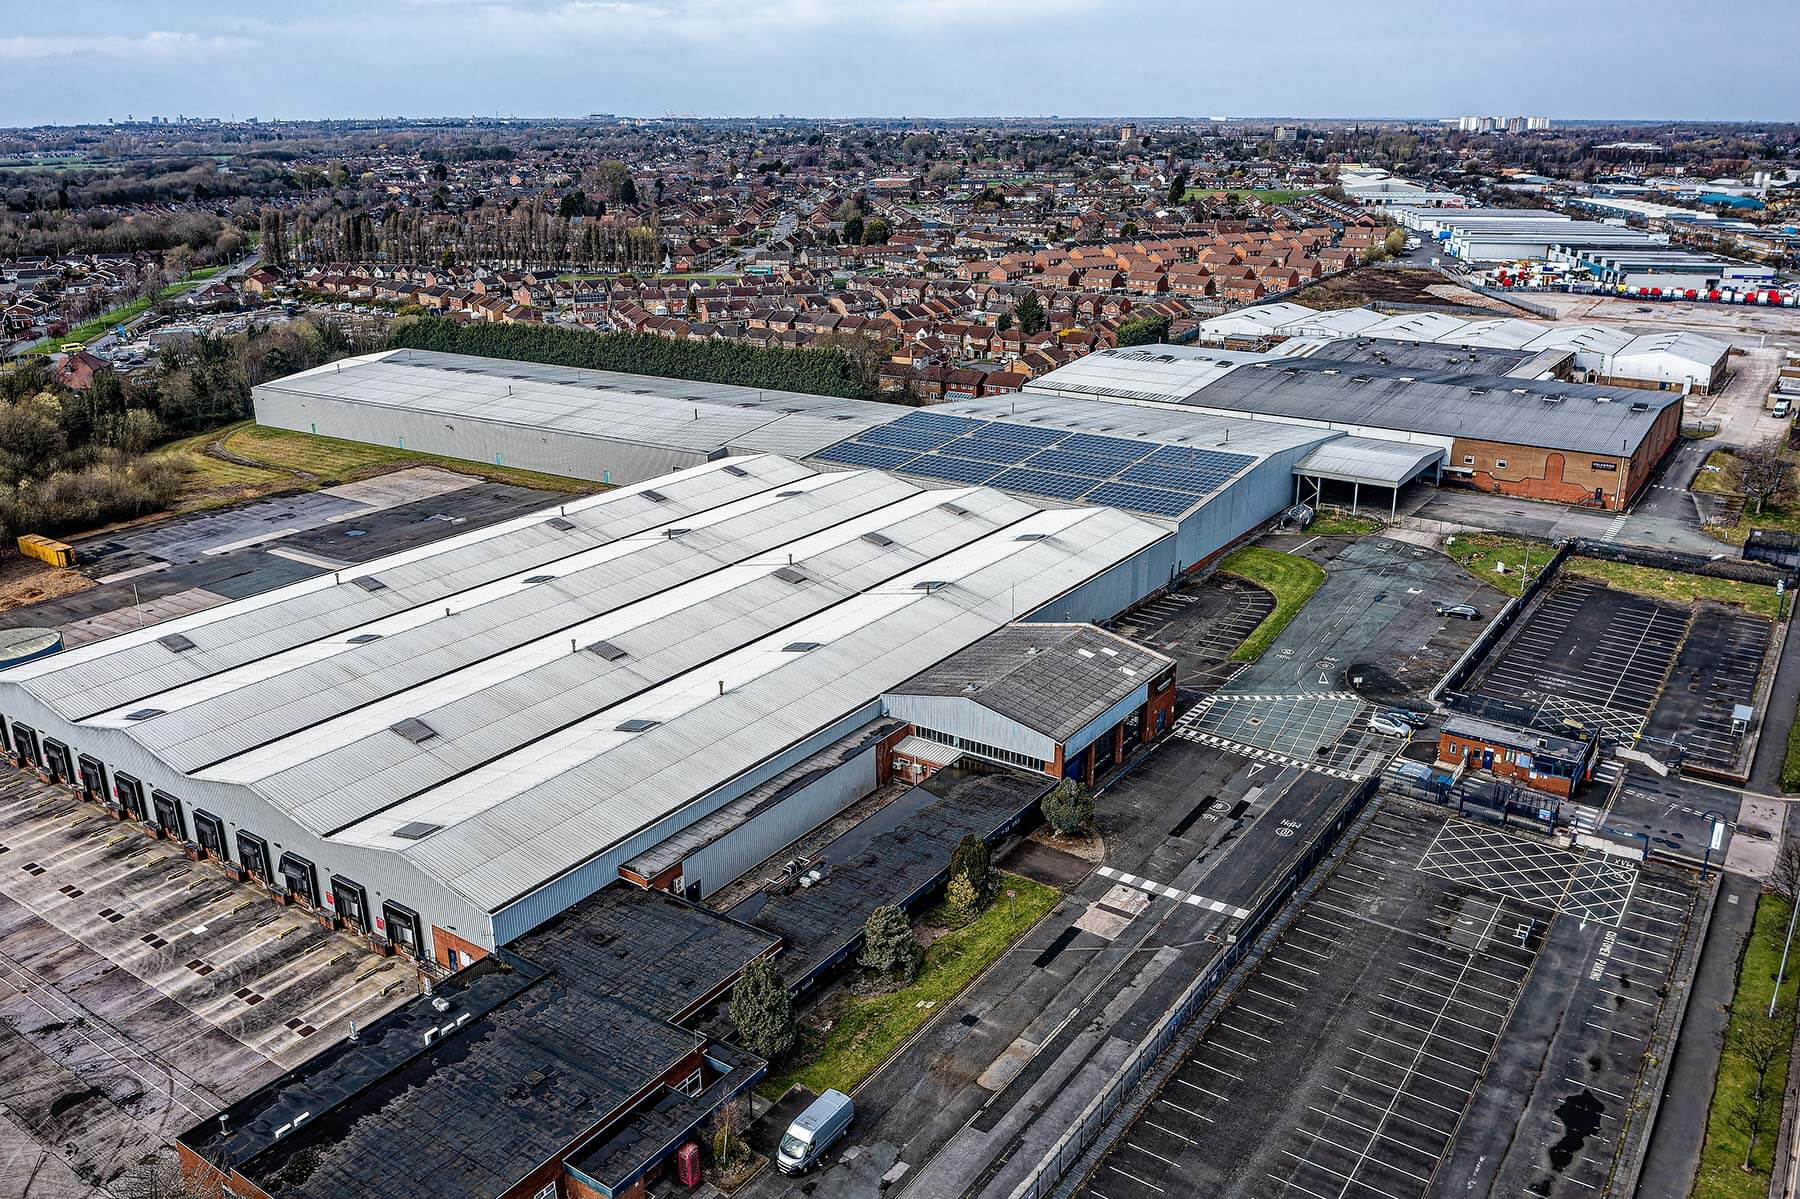
The aerial drone roof inspections offered by upshot photos are an excellent choice for assessing you...